If you are a solo podcaster sitting at a 150 dollar ceiling and trying to decide whether the Rode PodMic USB belongs in your cart, the short answer is yes, provided you spend the leftover cash wisely. The rode podmic usb solo podcaster budget combo works because a single microphone delivers both XLR and USB output, a built-in headphone jack for zero-latency monitoring, and broadcast-grade voicing tuned specifically for spoken word. You do not need a separate audio interface, you do not need a mixer, and you do not need a DAW plugin chain to get a publishable sound. What you do need is a smart plan for the remaining roughly 50 dollars after the mic, which is where most first-time podcasters quietly sabotage themselves.
This buyer's guide walks through how to spend that 150 dollars, what compromises are reasonable, what the PodMic USB actually sounds like in a typical bedroom or home office, and the upgrade path you should keep in the back of your mind for season two.
Why the PodMic USB Fits the 150 Dollar Bracket So Well
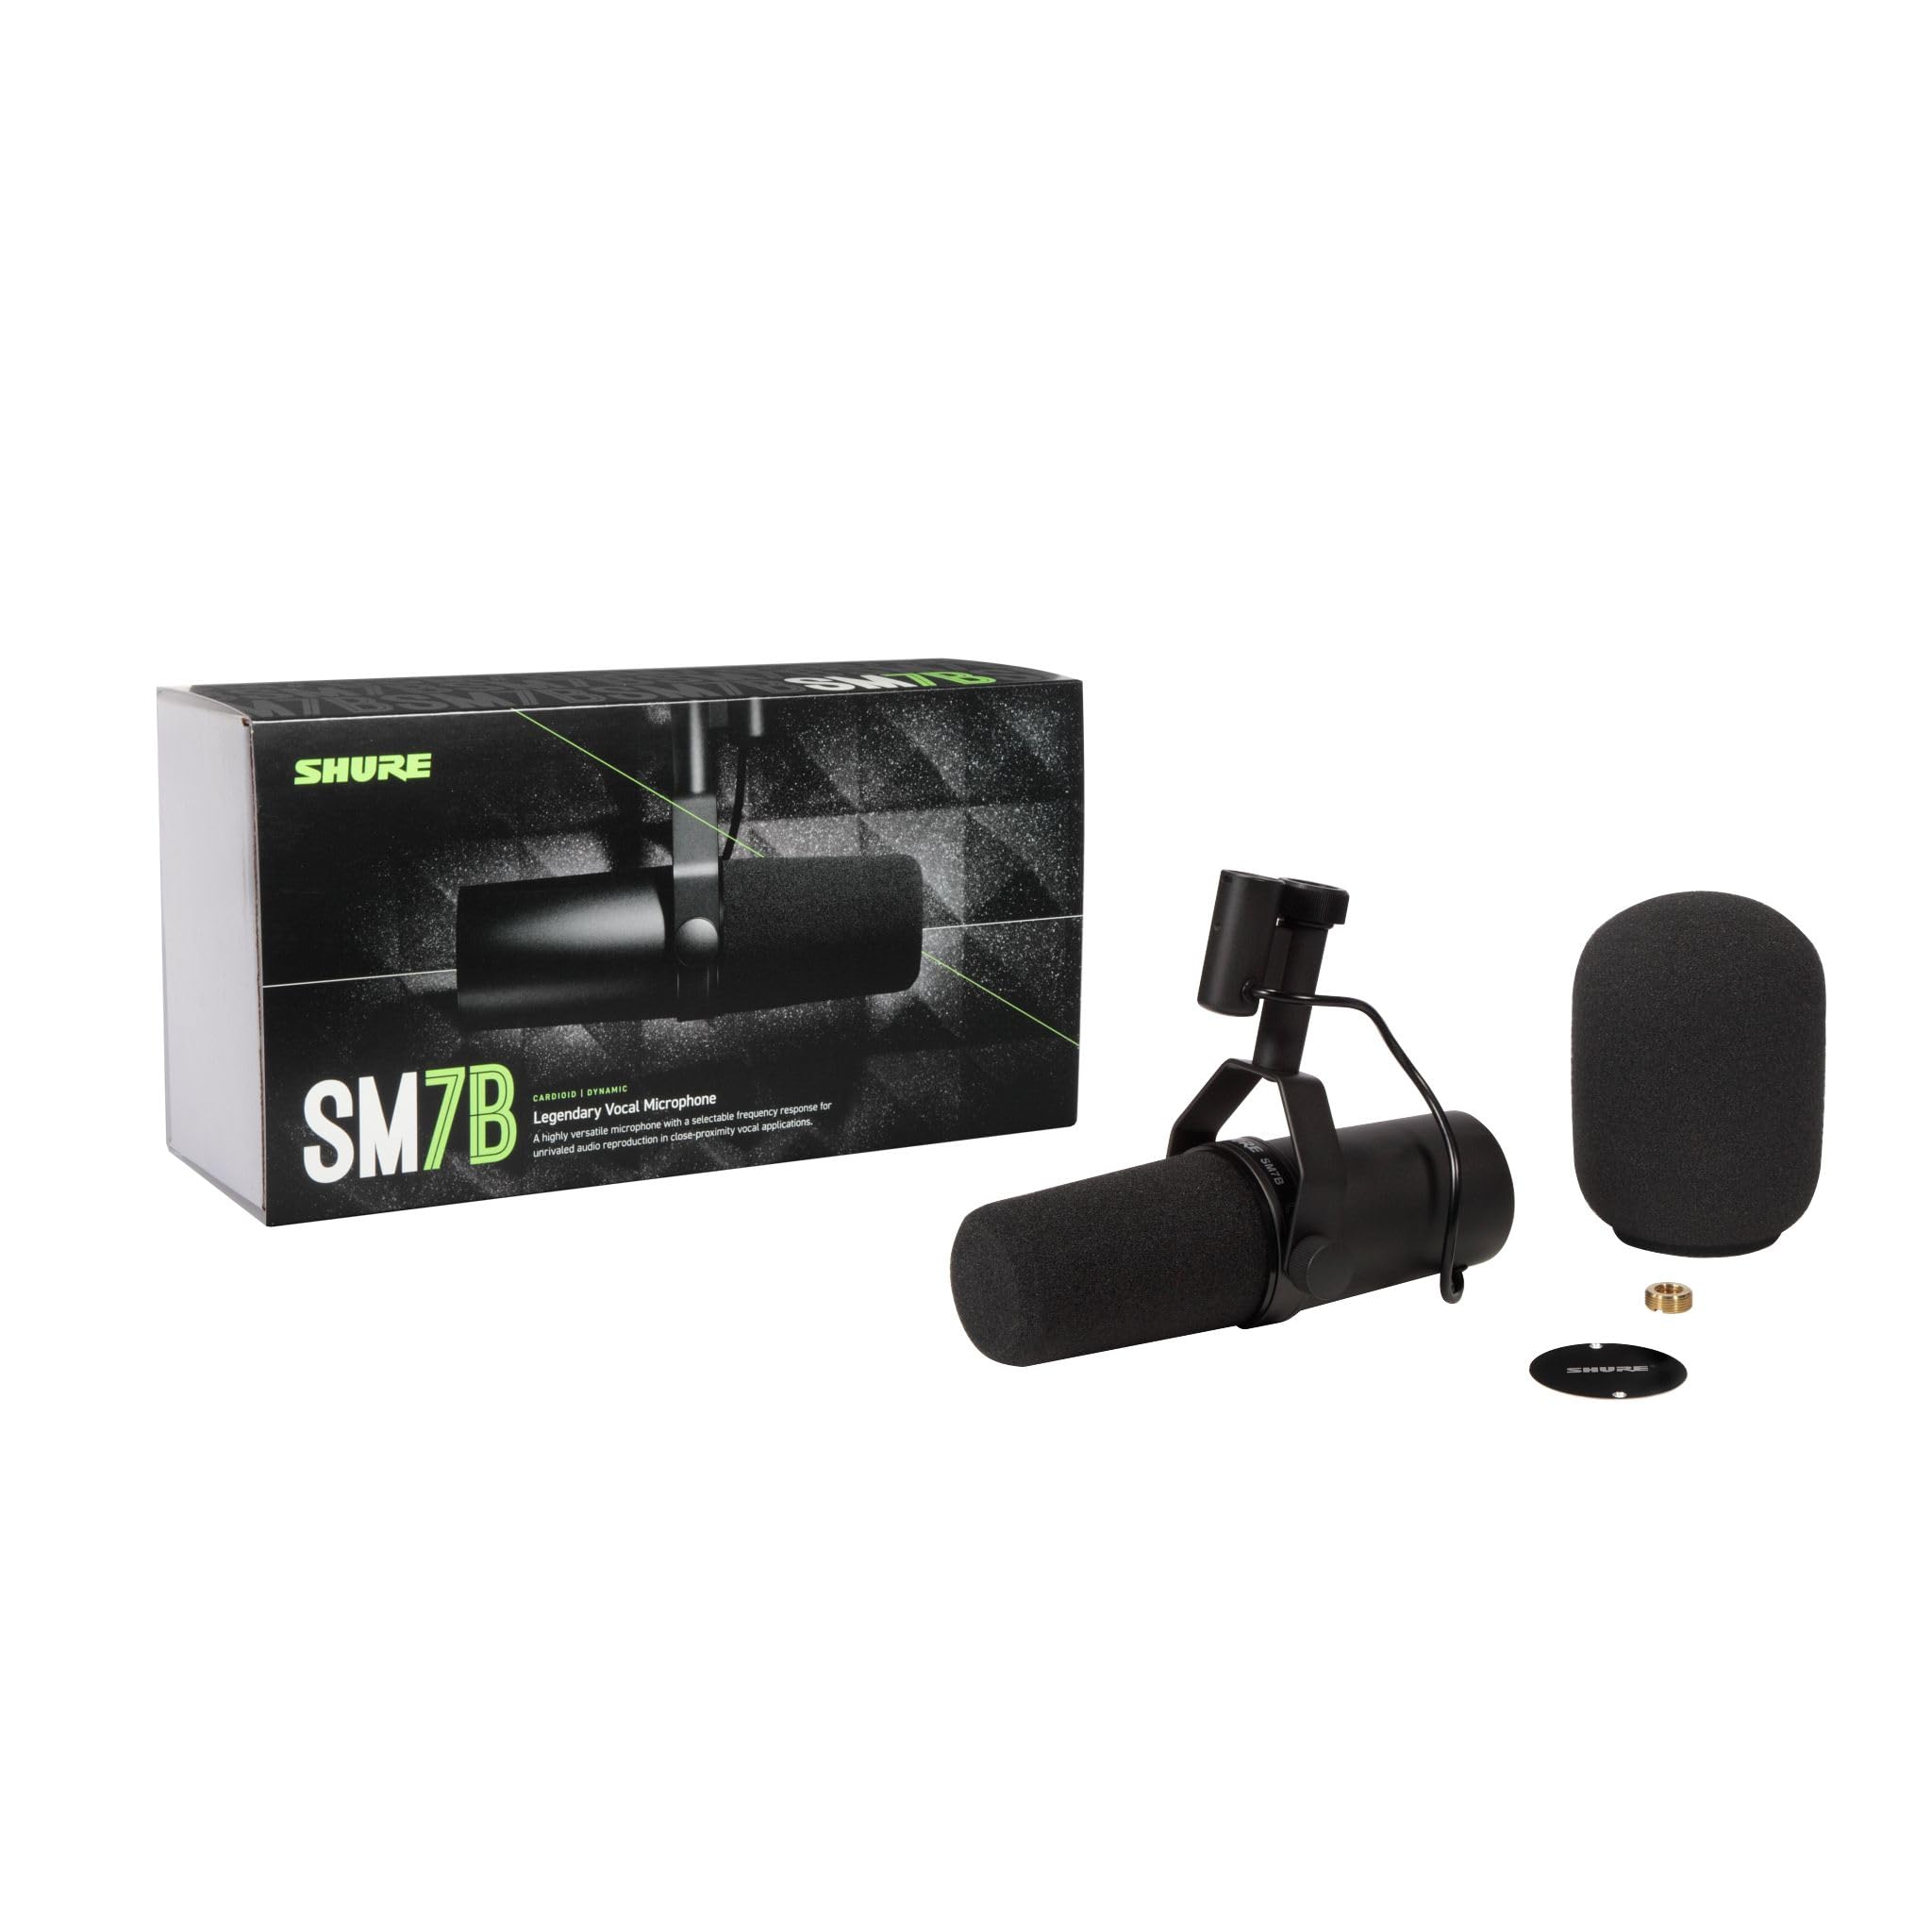
Most microphones that podcasters obsess over, like the Shure SM7B or the Electro-Voice RE20, sit well above 350 dollars before you add the interface and cloudlifter most of them quietly require. The PodMic USB lands in a very different category. It is a dynamic, end-address, cardioid microphone with internal pop filtering and shock mounting, and it was engineered by Rode to be the answer to the question "what would a 200 dollar SM7B feel like." The USB-C output skips the interface entirely, while the XLR output gives you a clean upgrade path the day you decide to buy a Rodecaster or a Focusrite.
For the rode podmic usb solo podcaster budget user, that dual-output design is the whole game. You are not paying for features you will never use, and you are not locked into a USB-only future that you have to throw away when you outgrow it. The mic sells in the 180 to 200 dollar range depending on sale cycles, and patient buyers regularly catch it between 150 and 170 during Prime Day, Black Friday, and Rode's own promotional windows.
What You Actually Get in the Box
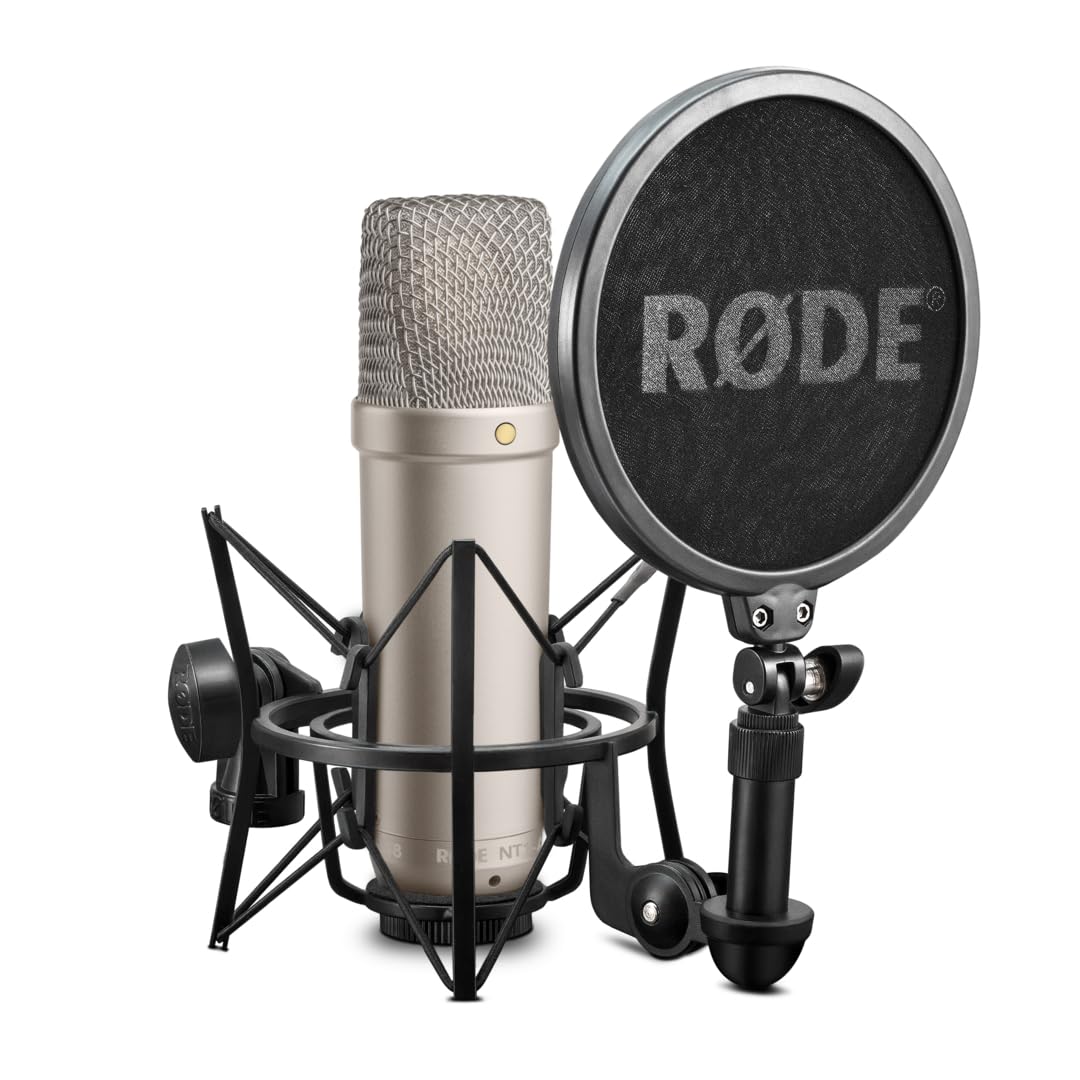
Rode includes a desk-thread adapter, a USB-C to USB-C cable, a USB-C to USB-A cable, and the microphone itself with an internal pop filter already baked in. You do not get a boom arm, you do not get a desk stand, and you do not get headphones. That matters because a podcast recorded with a microphone resting on a hard desk picks up every keyboard tap, mouse click, and coffee mug landing as if it were a kick drum. Plan for a stand or arm before your first episode.
Sound Character: How the PodMic USB Actually Sounds
The PodMic USB is voiced with a gentle low-mid presence bump and a subtle high-frequency lift around 5 kHz, which is the same voicing philosophy that made the SM7B a podcast standard. Compared to a Blue Yeti or a generic condenser, you will notice three things immediately. Background hiss disappears because the dynamic capsule rejects room reflections. Sibilance is controlled because the high-frequency lift is gentle rather than scooped. Plosives are tamed because the internal pop filter sits ahead of the capsule with real engineering behind it, not a foam sock.
What you give up is reach. Dynamic microphones need you close, ideally between two and four inches from the grille. If you sit a foot away the way many new podcasters do with condenser mics, you will sound thin and distant. This is not a flaw, it is the trade you accept to get broadcast voicing. Train yourself to lean in, and the mic rewards you with a sound that is genuinely competitive with rigs five times the price.
Allocating the 150 Dollar Budget: A Solo Podcaster Blueprint
If the PodMic USB ends up costing you 150 dollars flat during a sale, you have nothing left for accessories. That is fine for a first episode, but here is the more realistic blueprint when you can stretch slightly or wait for a deal that lands the mic in the 130 to 150 dollar window.
The Microphone Itself
This is the non-negotiable line item. Do not substitute a cheaper USB condenser to free up budget for accessories, because the room treatment cost required to make a condenser sound clean in an untreated bedroom will obliterate any savings. The dynamic capsule is the feature you are buying. Watch Amazon's price history with a tool like CamelCamelCamel and set an alert at 160 dollars so you catch the next promotional dip.
A Boom Arm or Desk Stand
The PodMic USB weighs just under 700 grams, which is heavier than most desk stands are rated to hold steady. A budget boom arm in the 25 to 40 dollar range solves this and frees your desk surface for notes and a laptop. Avoid the very cheapest spring arms, which sag and creak audibly into the recording. If a boom arm is out of reach, a heavy round-base desk stand with a foam isolation pad underneath is the runner-up.
Headphones for Monitoring
You will plug headphones directly into the PodMic USB's onboard 3.5mm jack so you can hear yourself in real time with zero latency. Any closed-back wired pair in the 30 to 50 dollar range works for a starter rig. Closed-back matters because open-back headphones bleed sound into the microphone and ruin your edits. You can revisit this with a proper pair once the show has a few episodes under its belt.
Pop Filter and Room Treatment
The internal pop filter on the PodMic USB is good enough that an external one is genuinely optional, which is rare in this price class. Spend that money on soft furnishings instead: a thick blanket draped behind your recording position, a rug under your desk, and curtains over any window in front of you will do more for your sound than any plug-in chain. If you can afford one or two foam absorption panels at the reflection points, place them on the wall behind your monitor, not behind your head.
Recording Software That Pairs Well
Because the PodMic USB shows up to your computer as a standard USB audio device, every DAW and recording app on macOS, Windows, iPadOS, and recent Android versions sees it without drivers. Free options that work cleanly include Audacity, GarageBand, Reaper's evaluation license, and Riverside's free tier for remote interviews even when you are recording solo. Rode also publishes Rode Connect, a free app designed specifically for podcasters that handles up to four Rode USB mics, automatic level setting, and basic processing like compression and noise reduction. For a solo podcaster on a tight budget, Rode Connect is the path of least resistance to a usable export on episode one.
Room Treatment on a Tight Budget
The single biggest quality multiplier you have at 150 dollars is your room, not your gear. A bedroom closet full of hanging clothes is, acoustically, a better recording space than most untreated home offices because the soft mass absorbs reflections. Many professional voice actors recorded their entire careers from inside a closet. If a closet is impractical, build a temporary fort: a quilt over the back of your chair, a blanket draped across the desk in front of you, and a pillow on either side of the microphone position. It looks ridiculous on camera, but listeners only hear the result. For a deeper walkthrough, see our guide to reducing echo in a home studio and the broader beginner home studio setup guide.
Setting the PodMic USB Up for Your First Episode
Mount the microphone roughly at the height of your bottom lip, angled slightly down toward your mouth. Set your distance so that your top lip is about a fist-width from the grille. In Rode Connect or your DAW, set the gain so that your loudest laugh peaks around -10 dBFS, leaving headroom for any post-processing. Enable the onboard high-pass filter if your room has a hum or rumble. Record a 30 second test, listen on headphones, and watch for two things: any low-frequency thump when you move your chair, and any sibilance on words ending in S. Both can usually be fixed with mic placement before you reach for plug-ins.
When You Might Outgrow the PodMic USB
The PodMic USB is a finishing-line microphone for most solo podcasters, not a stepping stone. You will outgrow it only when one of three things happens. You add a co-host and need a multi-mic interface, at which point you switch the same microphone to its XLR output and route it through a Rodecaster or a Focusrite Scarlett. You start doing voiceover work for clients who specify a particular condenser timbre. Or you move into a treated room where a large-diaphragm condenser will not be sabotaged by reflections. Until then, the rode podmic usb solo podcaster budget rig is genuinely all you need to publish a competitive-sounding show. For a wider survey of what the rest of the market looks like at higher price points, our top podcast microphones of 2026 roundup and the essential podcasting equipment guide are good follow-up reads.
Frequently Asked Questions
Is the Rode PodMic USB worth it for a solo podcaster under 150 dollars?
Yes, when it is on sale. At full price the mic sits around 199 dollars, but Prime Day, Black Friday, and Rode's seasonal promotions routinely drop it into the 130 to 160 dollar window. At any price in that range, the rode podmic usb solo podcaster budget value is hard to beat because you skip the audio interface entirely while still getting an XLR upgrade path for later.
Do I need an audio interface with the Rode PodMic USB?
No. The USB-C output is the entire signal chain. You plug the mic into your computer, plug your headphones into the mic's onboard jack, and you are recording. An interface only becomes necessary if you eventually add a second microphone for guests or decide to route the XLR output to a mixer like the Rodecaster Duo.
How does the PodMic USB compare to the Shure MV7+ for solo podcasting?
Both are hybrid USB-and-XLR dynamic microphones aimed at the same audience. The MV7+ has touch-strip muting and onboard DSP modes, while the PodMic USB has a more neutral broadcast voicing and a noticeably lower price. For a budget under 150 dollars, the PodMic USB is the more honest pick. For users who value Shure's automatic level riding and proximity correction, the MV7+ justifies its premium.
What boom arm works best with the Rode PodMic USB?
The PodMic USB weighs roughly 685 grams without a stand, which is too heavy for the very cheapest spring arms but well within range of any 25 to 50 dollar arm rated for at least one kilogram. Rode's own PSA1+ is the official pairing, but several generic alternatives in the sub-40 dollar range hold the mic without sagging. Look for steel construction and internal springs rather than visible exposed springs.
Can I use the PodMic USB with an iPhone or iPad?
Yes. With a USB-C iPhone or iPad, a single USB-C to USB-C cable is all you need. With an older Lightning iPhone, you need Apple's Lightning to USB Camera Adapter and the mic's USB-C to USB-A cable. Recording apps like Ferrite, GarageBand, and Rode Reporter all recognize the mic as a standard input.
Does the PodMic USB record in stereo?
No, and it should not. The PodMic USB is a single-capsule cardioid mic and records mono, which is the correct format for spoken-word podcasting. Mono files are smaller, more compatible with podcast platforms, and avoid the phasing issues that can occur when listeners use mono Bluetooth speakers or single-earbud playback.
What headphones should I pair with the PodMic USB on a tight budget?
Any closed-back wired pair in the 30 to 60 dollar range. Closed-back is essential because open-back headphones leak audio into the mic and ruin your edits. Avoid Bluetooth, which introduces latency that the PodMic USB's zero-latency monitoring is specifically designed to eliminate. Plug straight into the mic's 3.5mm jack rather than into the computer.
How long will the Rode PodMic USB last as my main microphone?
Dynamic capsules like the one in the PodMic USB routinely last decades with no degradation. The likely failure point is the USB-C connector after thousands of plug cycles, which is why leaving the cable connected and routing the cable carefully through your boom arm matters. Treated reasonably, this mic will outlast at least two or three computers.
Key Takeaways
- Choosing the right rode podmic usb solo podcaster budget means matching capacity and output ports to your actual devices
- Always check actual watt-hours (Wh), not just watts — runtime depends on Wh, not peak output
- Also covers: podmic usb under 150
- Also covers: rode podmic usb beginner podcast
- Also covers: cheap rode mic solo show
- Compare price-per-Wh across models to find the best value for your budget