If you record remote interview podcasts on a modern MacBook, the shure mv7 plus remote interview usb c macbook combination is one of the simplest, broadcast-grade setups you can put together in 2026. The Shure MV7+ ships with a USB-C to USB-C cable, plugs straight into any Apple Silicon MacBook Air or Pro, and delivers a polished, voice-focused signal to Riverside, SquadCast, Zoom, or Descript without an audio interface. This guide walks through why the MV7+ is the right pick for two-mic and many-mic remote interviews, how to dial it in for a USB-C MacBook workflow, and the small acoustic and software tweaks that separate amateur uploads from real podcast audio.
Why the MV7+ Fits Remote Interview Podcasts on USB-C MacBooks
Remote interviewing punishes any weakness in a mic chain. Guests are usually on their own audio, you have no control over their room, and your own track has to carry the show. The MV7+ is built around that reality. It is a cardioid dynamic broadcast mic, so it rejects room reflections, fan noise, and the cat walking past your desk far better than any condenser at the same price. Dynamics are the standard for talk radio for exactly this reason, and the MV7+ gives you that character in a plug-and-play body.
The plus in MV7+ matters. Compared with the original MV7, the MV7+ adds onboard digital signal processing, a more sensitive capsule, a built-in popper-stopper foam, an RGB touch strip for mute and monitoring, and crucially a USB-C port instead of micro-USB. That last detail is what makes it a natural partner for an Apple Silicon MacBook. You skip the adapter, skip the hub, and skip the audio interface entirely when you want to. For interviewers who travel with a single backpack or who switch between a home desk and a hotel room, that simplicity is the whole pitch.
The shure mv7 plus remote interview usb c macbook setup also gives you a real-time denoiser, automatic level control, a built-in reverb killer, and onboard EQ presets that can be baked into the USB stream. That means the audio reaching Riverside or Zoom is already cleaned up, even if your guest is recording locally and your track is the only one being captured live.
Connecting the MV7+ to a USB-C MacBook
Physical setup takes under a minute. Plug the included USB-C cable from the bottom of the MV7+ into any USB-C or Thunderbolt port on your MacBook. macOS recognizes the mic as Shure MV7+ with no drivers. Open System Settings, choose Sound, and set the input and output device to MV7+ if you want to monitor directly from the mic's headphone jack. Latency on Apple Silicon is low enough that direct monitoring through the MV7+ feels real-time, which matters when you are nodding and reacting to a guest.
Power draw is well within what a single USB-C port can supply, so you do not need a powered hub. If your MacBook only has two ports and one is being used by the charger, a basic passthrough hub is fine, but avoid cheap bus-powered hubs with several other devices attached. Audio over USB does not love sharing bandwidth with external SSDs and HDMI capture cards.
Download the free ShurePlus MOTIV Mix app from the Mac App Store. This is where you control gain, monitor mix, presets, and the onboard DSP. You can also save settings to the mic itself so they persist when you move it to another machine.
Recommended MV7+ Settings for Remote Interviews
Open MOTIV Mix and start with these baselines, then adjust to taste:
- Mic position: One to three inches from your mouth, slightly off-axis. The MV7+ is a close-talk mic and rewards getting close.
- Gain: Manual mode, target peaks around -10 dBFS while speaking at normal interview volume. If you tend to get loud when excited, leave more headroom.
- Auto Level Mode: Off for produced shows, on for casual or live streaming use where you cannot ride the fader.
- Digital Popper Stopper: On. It is genuinely effective and does not soften the sound.
- EQ Preset: Start with Flat for podcasting, or Presence Boost if your voice is dark and gets lost on small phone speakers.
- Real-Time Denoiser: Low or Off for treated rooms, Medium if you have a fan, AC, or street noise.
- Monitor Mix: Slide toward the mic side so you hear your own voice clearly while your guest's audio comes through your DAW or call app.
Save the result as a preset called Interview and lock it. The MV7+ will recall it next time you plug in, even on a different MacBook.
Workflow With Riverside, SquadCast, Zoom, and Descript
The big advantage of remote-first platforms like Riverside and SquadCast is that they record each participant locally in high quality and then upload after the call. The MV7+ over USB-C delivers a clean 24-bit signal straight into the browser. Select Shure MV7+ as the microphone in the platform's audio settings, disable any browser-level noise suppression (it fights with the MV7+ DSP and usually loses), and let Shure handle the cleanup.
For Zoom interviews where you cannot control the guest's recording, turn on Original Sound for Musicians inside Zoom's advanced audio settings and disable Zoom's own noise suppression. Zoom's processing is tuned for meetings, not voices being captured locally, and it will dull the MV7+'s low end. With Original Sound enabled, what your guest hears is what your mic actually sounds like, and you can record your own track locally in QuickTime or Audio Hijack at the same time as a backup.
Descript users can pull the MV7+ feed directly into a new project and let Studio Sound do a final pass. Because the MV7+ already removes most room tone, Studio Sound has less work to do and produces fewer artifacts than it does on untreated condenser audio.
Two-Mic and Multi-Mic Setups on a Single MacBook
If you record an in-person co-host plus a remote guest, you can run two MV7+ units into one MacBook by creating an Aggregate Device in Audio MIDI Setup. macOS will treat both mics as a single four-channel input, and DAWs like Logic, Reaper, GarageBand, and Hindenburg can record each mic to its own track. This is the simplest way to scale the shure mv7 plus remote interview usb c macbook workflow up to a two-person studio without buying an interface.
For three or more in-room mics, an Aggregate Device still works but starts to feel fragile, and you lose hardware-level sync. At that point a small USB audio interface or a dedicated podcast mixer becomes the better answer. We cover those options in our 2026 podcast mixers roundup and our best audio interfaces guide.
Acoustic Treatment for Remote Interviewers
The MV7+ rejects a lot of room, but it cannot do magic. The cheapest, biggest upgrade you can make to a remote interview rig is a soft wall behind the mic, not in front of it. A bookshelf, a heavy curtain, or a moving blanket draped behind your chair kills the slap-back echo that makes remote podcasts sound like they were recorded in a stairwell. Our echo reduction tips walk through quick wins you can do in an afternoon.
If you are setting up a dedicated corner for interviewing, the basic rule is treat first reflection points first: the wall the mic is pointing at, the wall behind you, the ceiling above the mic, and the desk surface in front of you. A small piece of foam on the desk between you and the laptop can stop the most obvious reflection of all.
What to Buy Alongside the MV7+
A Real Boom Arm
The included desktop stand works, but desk thumps and laptop typing will bleed in. A shock-mounted boom arm keeps the mic at mouth height and decoupled from the desk. Any low-profile arm rated for at least 2.5 lb will hold the MV7+ comfortably. This is the single biggest quality-of-life upgrade for a daily interviewing setup.
Closed-Back Headphones
You need closed-back cans so your guest's voice does not leak back into your mic. Plug them straight into the MV7+'s headphone output for zero-latency monitoring. Our 2026 studio headphones guide covers the usual suspects and a few less-obvious picks.
A USB-C Hub With Power Passthrough
If your MacBook only has two ports, a basic hub with power delivery lets you charge while the MV7+ stays plugged in. Avoid bus-powered hubs running multiple high-bandwidth devices; pick one with its own power input if you can.
Local Recording Backup
Always run a local safety net. Audio Hijack, QuickTime, or your DAW of choice recording the MV7+ to your MacBook's SSD is cheap insurance against a dropped call or a failed cloud upload. Riverside and SquadCast already do this, but a redundant copy on your own machine is good practice.
Common Pitfalls and How to Avoid Them
The most common MV7+ complaint from new owners is that it sounds thin or distant. Almost every time, the fix is getting closer to the mic. Dynamic broadcast mics are designed for close talking, and the proximity effect adds the warmth listeners associate with professional podcasts. Three inches is closer than feels natural at first; trust it.
The second most common problem is double processing. Browsers, OS, conferencing apps, and the MV7+ itself all have noise suppression. Stack them and you get warbly, gated audio. Pick one. The MV7+ DSP is the best of the bunch, so disable the others.
The third pitfall is plugging the MV7+ into a downstream USB hub shared with an external SSD that is also taking your recording. Audio dropouts at exactly the moments you do not want them. Keep the mic on its own port or its own bus.
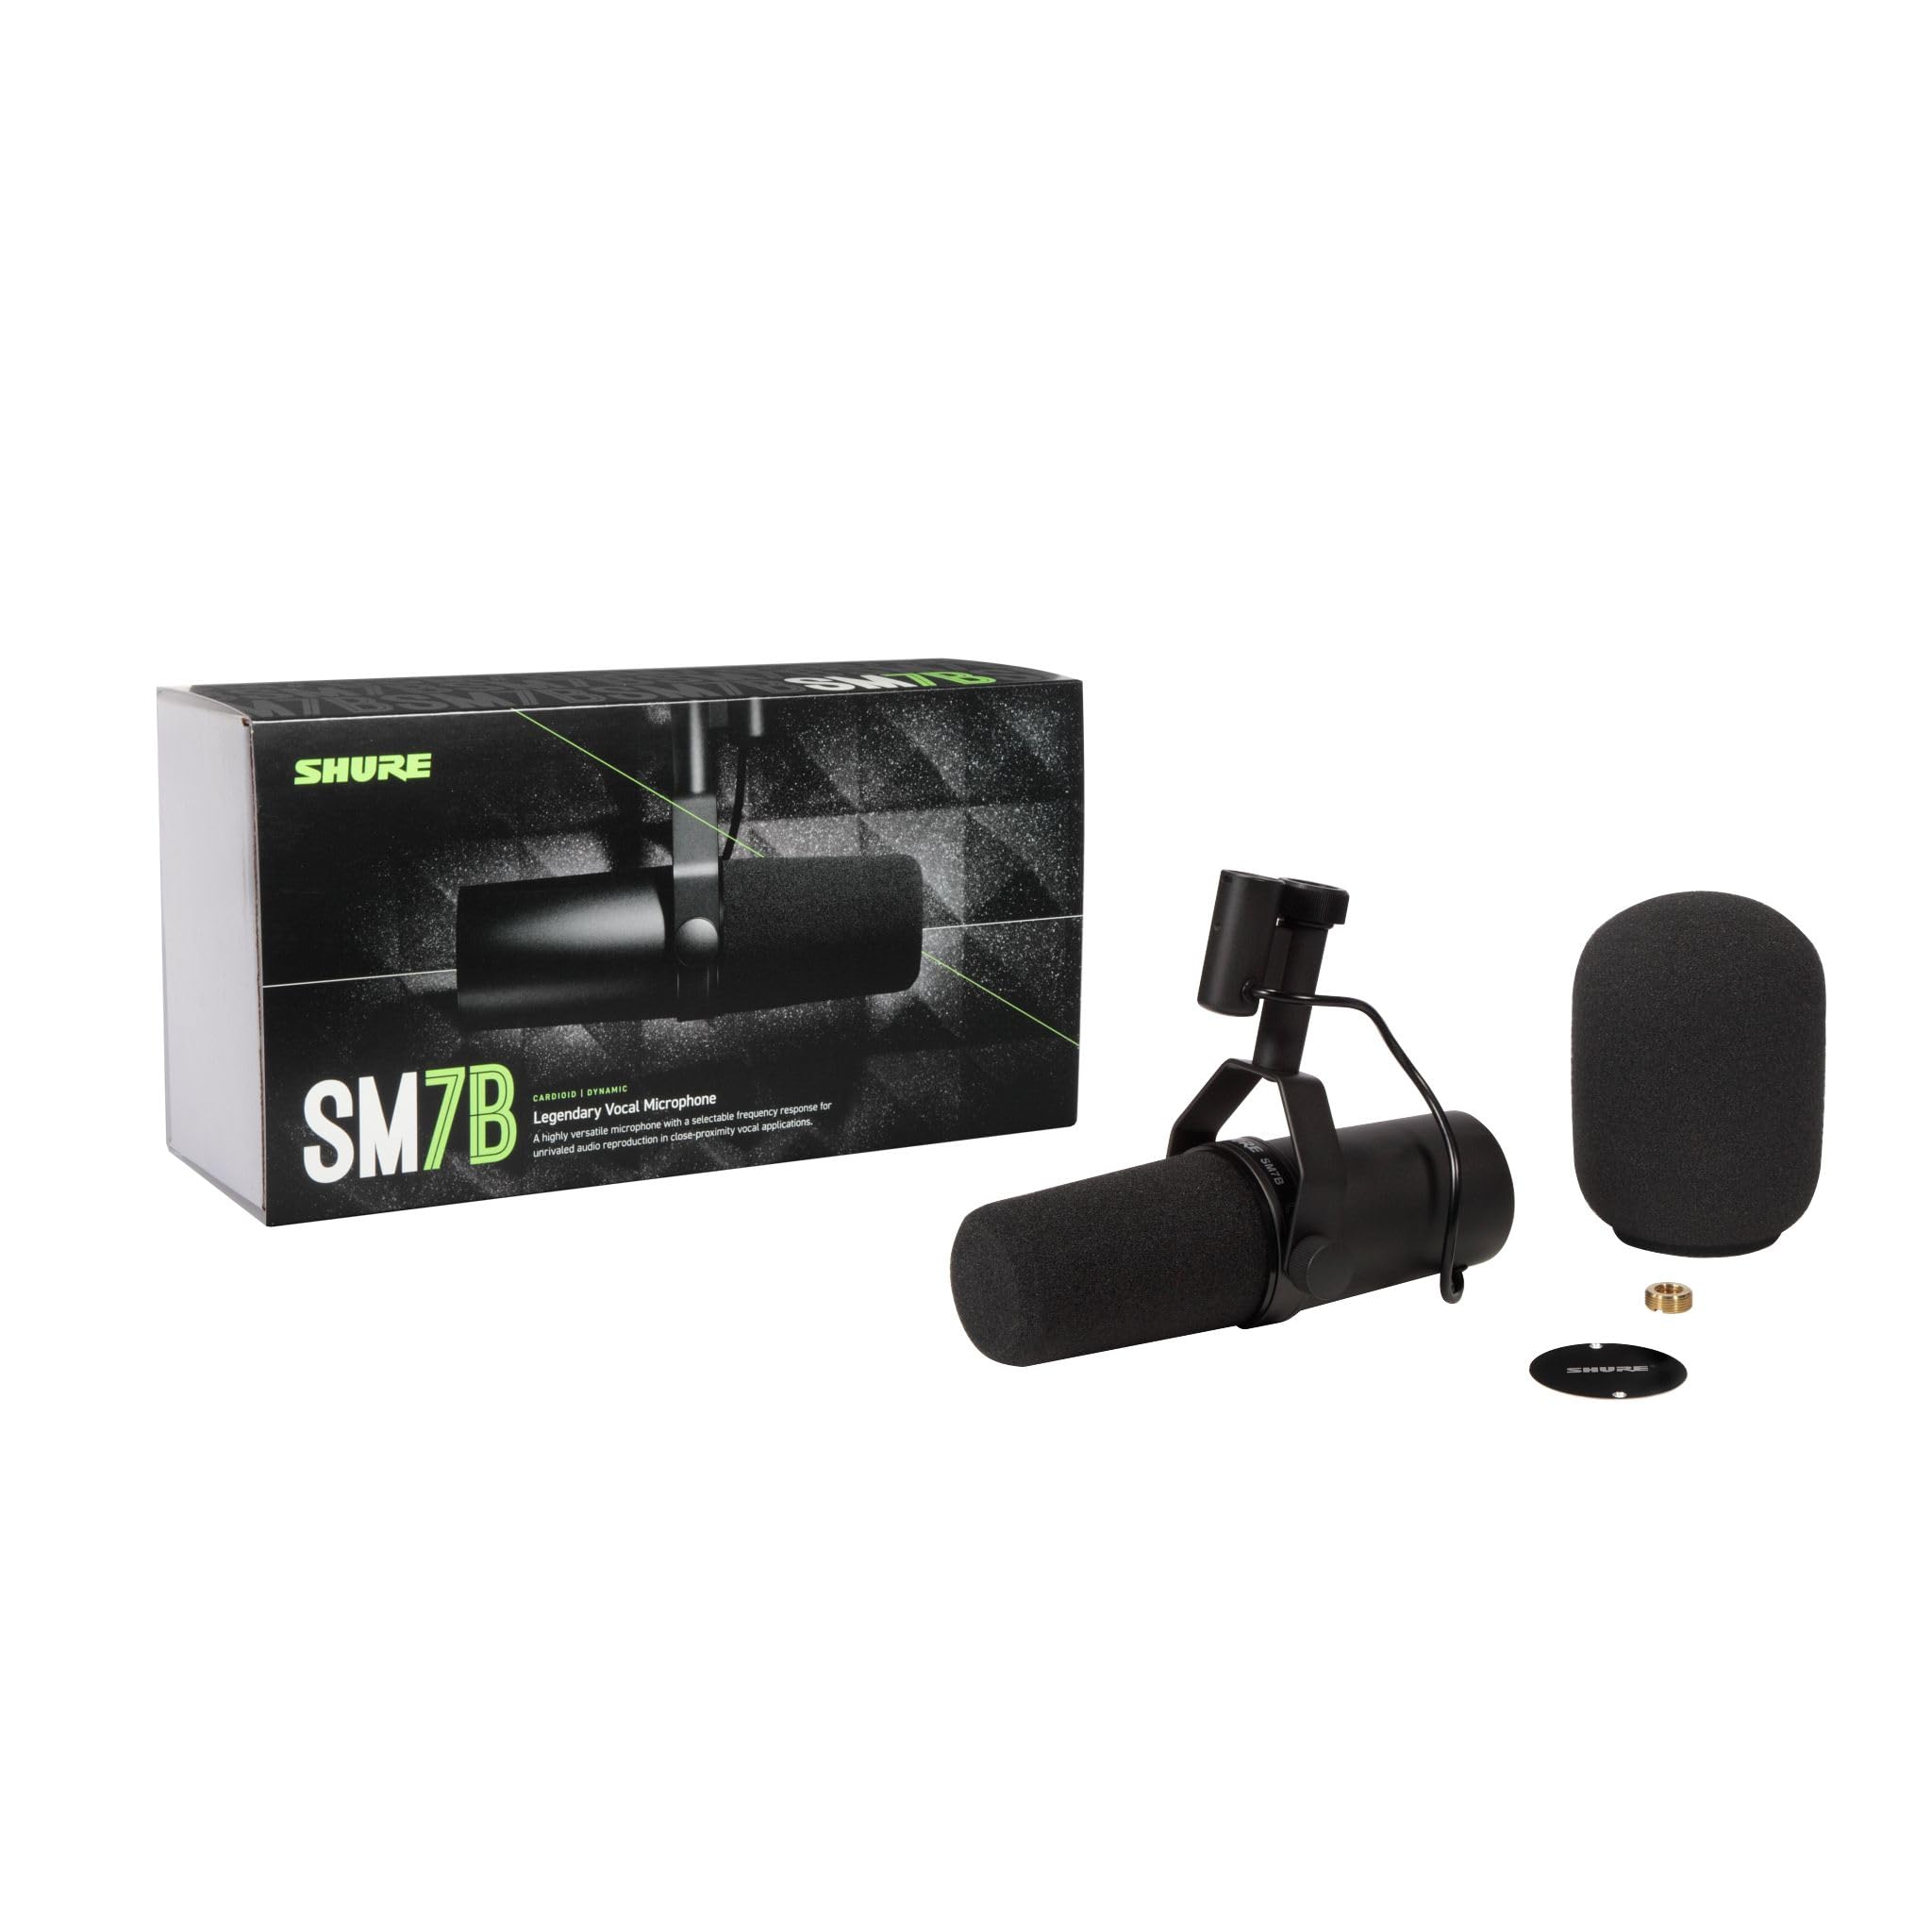
If you are still deciding between the MV7+ and a higher-end mic like the SM7B, our 2026 podcast microphone roundup and our essential podcasting equipment guide compare the trade-offs in detail. The short version: the SM7B is the studio reference, the MV7+ is the remote-first reference, and most working podcasters in 2026 are picking the MV7+ for the USB-C convenience alone.
Frequently Asked Questions
Does the Shure MV7+ work with M3 and M4 MacBook Air and Pro?
Yes. The MV7+ is a class-compliant USB-C audio device, so it works on every Apple Silicon MacBook including the M3 Air, M3 Pro, M4 Pro, and the latest M4 Max. No driver install is required. macOS Sequoia and Tahoe both recognize it instantly.
Can I use the MV7+ over USB-C without an audio interface?
That is the whole point of this setup. The MV7+ has a built-in interface and preamp, so it plugs directly into a USB-C MacBook port and shows up as both an input and output device. You only need an external interface if you are running multiple XLR mics or want analog hardware in the chain.
What is the difference between MV7+ USB and MV7+ XLR for remote interviews?
The MV7+ has both a USB-C port and an XLR output simultaneously. For solo remote interviewing on a MacBook, USB-C is the right path. The XLR output is useful if you later add an interface or mixer and want to use the same mic in both worlds without rewiring.
Do I need a Cloudlifter or FetHead with the MV7+?
No. The MV7+ has a strong preamp built in, so it does not need the inline gain boosters that older dynamics like the SM7B sometimes require. This is true over both USB-C and XLR.
Is the MV7+ good enough for a guest on a YouTube video podcast?
Yes. The MV7+ is widely used by remote video podcast hosts because the rejection pattern keeps room and keyboard noise out of the mix while staying close to a guest who is also looking at a camera. Pair it with a boom arm that does not block the lens and you are set.
How does the MV7+ compare to the Blue Yeti for remote interviews?
The Yeti is a condenser and picks up far more room sound, which is a problem in an untreated space and an even bigger problem when the audience is wearing headphones. The MV7+ is a dynamic broadcast mic and rejects most of what makes Yeti recordings sound amateur. For interview podcasts the MV7+ is the better choice almost every time. Our microphone selection guide walks through the trade-offs.
Can two people share one MV7+ for an in-person interview?
It works in a pinch but it is not ideal. The cardioid pattern is tight, so whoever is off-axis sounds noticeably worse. For an in-person two-person show, two MV7+ units into a single MacBook through an Aggregate Device or a small interface is the right answer.
Key Takeaways
- Choosing the right shure mv7 plus remote interview usb c macbook means matching capacity and output ports to your actual devices
- Always check actual watt-hours (Wh), not just watts — runtime depends on Wh, not peak output
- Also covers: mv7+ macbook podcasting
- Also covers: shure mv7 plus zoom interviews
- Also covers: mv7+ riverside remote guest
- Compare price-per-Wh across models to find the best value for your budget