Recording snare with a Shure SM57 for snare drum in concrete basement rooms works, but only if you respect what concrete does to sound. Concrete floors and block walls reflect almost everything that hits them, so the SM57's tight cardioid pattern, mid-forward voicing, and built-in low-frequency roll-off become assets rather than limitations. Aim the capsule across the head (not straight down), pull the mic an inch closer than you would in a treated room, gate aggressively at the source, and use rugs, blankets, and a packing-quilt tunnel to absorb the slap. Do those four things and your snare track will sound like a record, not a parking garage.
The rest of this guide walks through why the SM57 is still the right call for hard rooms in 2026, how to position it, how to treat just enough of the space to keep the take usable, and which signal-chain tweaks save the most time at mix.
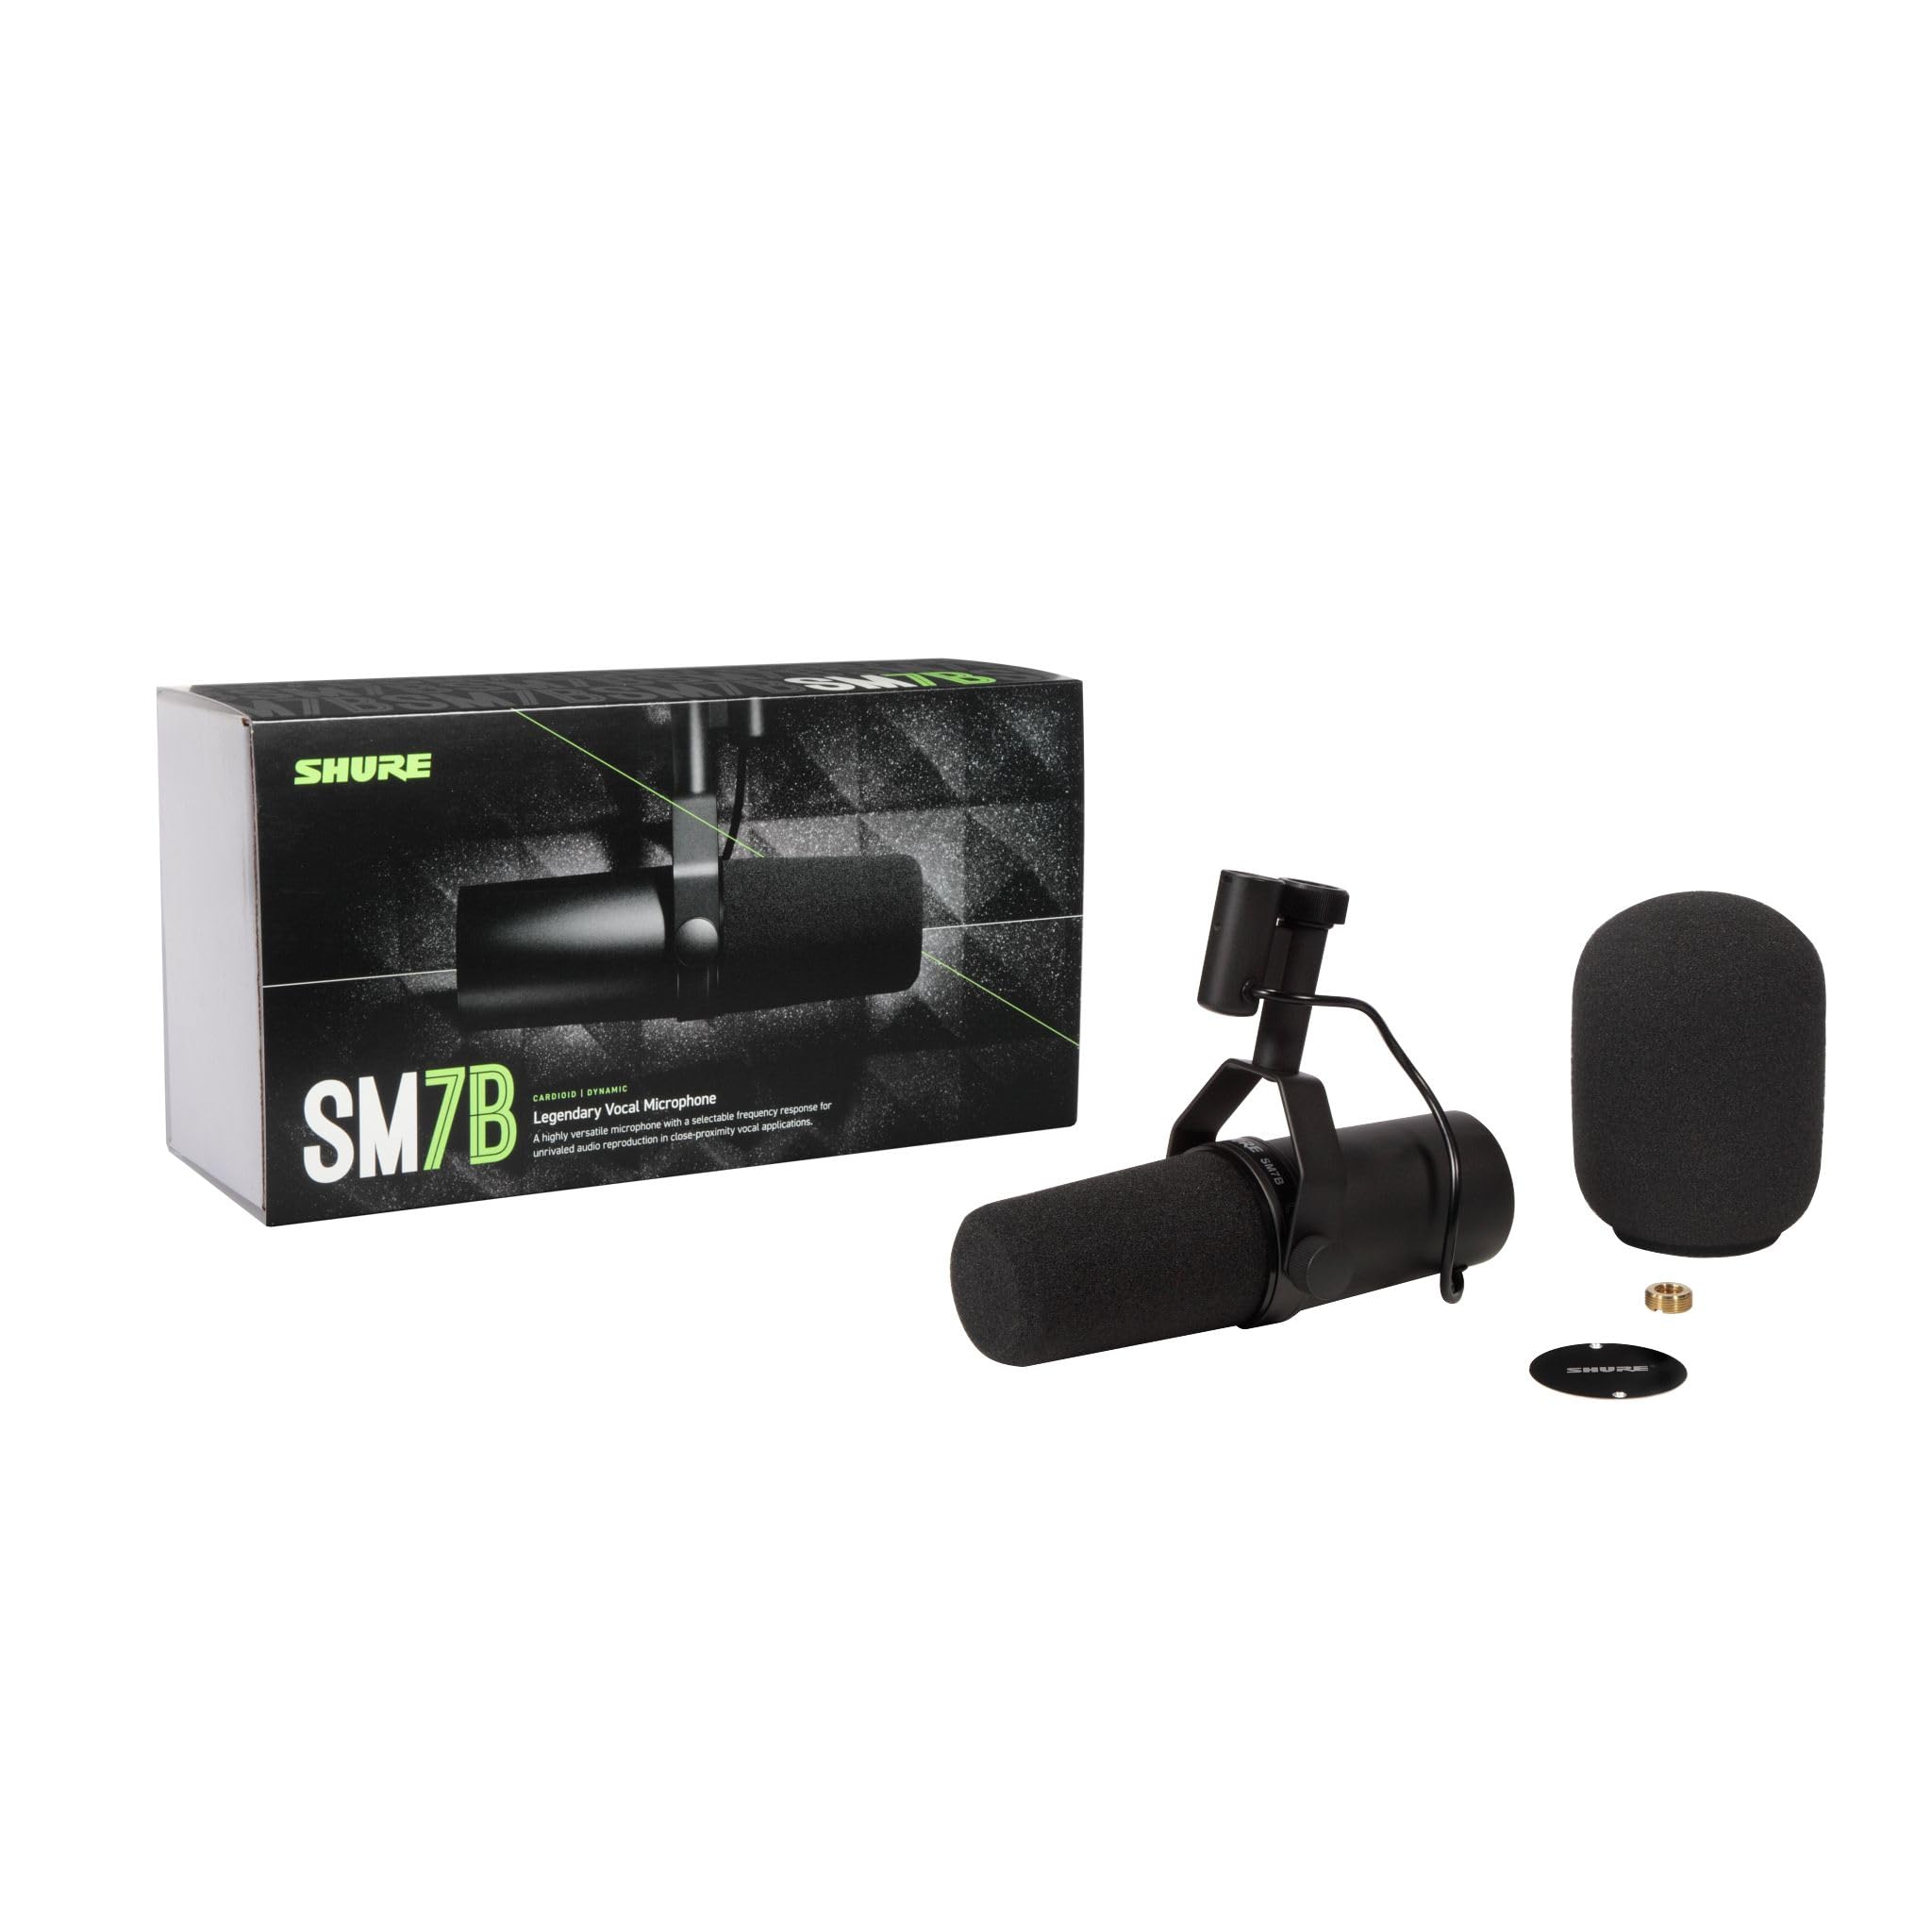
When shopping for Shure SM57 for snare drum in concrete basement, it pays to compare specs, capacity, and real-world runtime before committing.

Why concrete basements are brutal on snare
Concrete is dense, non-porous, and acoustically reflective across the entire audible spectrum. Where a carpeted bedroom soaks up high-mid energy and a wood-floored living room scatters it, a concrete basement bounces it back to the microphone with almost no loss. The result is a snare track that sounds like two snares: the actual drum, then a metallic, ringing copy arriving 8 to 20 milliseconds later from the floor, ceiling joists, and parallel block walls.


Three specific problems show up on the recording:
- Flutter echo in the 2–5 kHz region — the same frequencies that carry snare crack and stick attack. This makes the drum sound brittle and washy at the same time.
- Low-mid buildup between 180 and 350 Hz from the floor coupling. Concrete slabs ring sympathetically with the bottom head, adding a boxy thud to every hit.
- Bleed from kick and toms arriving slightly late, which smears transients when you try to compress the snare track later.
None of these are deal-breakers. They are predictable, repeatable problems, and the SM57 is one of the few microphones designed in a way that sidesteps the worst of them.
Why the Shure SM57 still wins in 2026
The SM57 has been the default snare mic since 1965 for reasons that translate directly to hard-surface rooms. Its cardioid pattern has very strong rear rejection in the 200 Hz to 8 kHz window — exactly where your worst basement reflections live. Its built-in presence peak around 5–6 kHz adds stick attack without requiring you to boost air frequencies that would also boost room reflections. And the integrated low-cut shelves off energy below 100 Hz, which is where concrete coupling creates the most muddy buildup.
A few practical advantages matter more in a concrete basement than in a treated studio:
- Tolerance for high SPL. A loud rock snare in a reflective room easily hits 135 dB SPL at the mic. The SM57 handles that without distortion or capsule fatigue.
- Mechanical durability. Drummers knock mics. Concrete floors are unforgiving. The SM57 survives drops that would kill a small-diaphragm condenser.
- Predictable frequency response. Every engineer who hears your mix knows what an SM57 on snare sounds like. That makes mix decisions faster.
- No phantom power required. Useful when you are tracking through a budget interface or a portable recorder in a basement with limited outlets.
If you are still building out the rest of your chain, our roundup of the best audio interfaces of 2026 covers preamps that pair well with the SM57's relatively low output level.
Placement: the single biggest variable
In a treated room, snare placement is forgiving. In a concrete basement, placement is the difference between a usable take and a track you cannot save in the mix. Three positions are worth trying in order:
1. Top head, edge-aimed, 1 inch above the rim
Place the SM57 just above the rim, capsule pointed across the head toward the opposite lug, roughly 45 degrees off the head surface. In a reflective room, pull the mic about an inch closer than the typical 2–3 inches you would use in a treated space. The closer you are, the more direct sound dominates the bleed and reflections.
Why edge-aimed and not center? Aiming at the center of the head emphasizes the fundamental tone and the low-mid ring that concrete amplifies. Aiming across the head captures stick attack and head crack without exciting the boomy 180–350 Hz region as much.
2. Top head, rim-tucked, capsule angled away from kick
If kick bleed is dominating your snare track (very common when the kick is firing into a concrete wall a few feet away), rotate the SM57 so its null — the rear of the capsule — points at the kick drum. The cardioid pattern provides roughly 20 dB of rejection at the null, which is often enough to keep the snare track gateable.
3. Bottom head, pointed at the snares
Less common in basement setups because the bottom mic picks up floor reflections directly, but worth trying if you have a second SM57. Place it 1–2 inches below the bottom head, off-center, and remember to flip the polarity at the preamp or DAW. In a concrete room, the bottom mic often sounds better with an aggressive high-pass filter at 250 Hz to remove floor coupling.
Treat the room before you blame the mic
You cannot fully treat a concrete basement on a home-studio budget, but you do not need to. You only need to control reflections at the boundaries closest to the mic. A few targeted moves make an enormous difference:
- Rug under the kit. A thick area rug, 8x10 feet minimum, kills the worst floor reflections. Layer a moving blanket underneath for low-mid absorption.
- Packing quilts on the nearest wall. Two quilts hung 4 inches off the wall behind the kit absorb the first reflection that returns to the snare mic.
- A reflection-blocker behind the mic. A heavy moving blanket draped on a mic stand 2 feet behind the snare position blocks the long-path room sound from sneaking into the cardioid pattern's rear lobe.
- Soft material on the ceiling joists. Even tucking pillows between exposed joists overhead reduces flutter echo measurably.
For a more systematic walkthrough, our guide to reducing echo in a home studio covers the cheapest treatments per square foot and where to put them first. If you eventually want to do this properly, the soundproof home studio guide covers the difference between absorption (what you want for tone) and isolation (what you want for neighbors).
Gain staging and gating at the source
The SM57 is a dynamic mic with relatively low output, around -56 dBV/Pa sensitivity. On a hard-hit snare, that translates to a hot signal at the preamp, but on rim clicks or ghost notes you may need 50–60 dB of gain. In a noisy interface, that gain raises the noise floor enough to capture room reflections as ambient hiss.
Two practical fixes:
- Track with a noise gate engaged at the source. Most interfaces and DAWs let you gate during tracking. Set the threshold just below the loudest ghost note, attack at 0.1 ms, hold at 30 ms, release at 100 ms. The gate kills room tail between hits without affecting the body of the drum.
- Use a clean preamp with at least 60 dB of gain. Cheap interfaces run out of clean gain at around 50 dB, forcing you to over-compress at mix. Mid-tier interfaces with 65–72 dB of headroom solve this entirely.
EQ approach at mix
Most snare tracks recorded with the Shure SM57 for snare drum in concrete basement sessions need the same four moves at mix:
- High-pass at 120–150 Hz. Removes floor coupling and kick bleed without thinning the snare body.
- Narrow cut at the room ring frequency. Solo the snare, sweep a narrow band between 200 and 400 Hz, and find the boxy ring. Cut 3–5 dB with a Q of 4.
- Gentle dip at 800 Hz. Optional, but often removes the cardboard quality that hard rooms add.
- Shelf or peak above 8 kHz. Only if the room treatment is good enough that high-frequency reflections are not dominating. In a fully untreated concrete basement, leave the top end alone.
For broader mix decisions, our piece on improving audio quality in home studios covers source-first thinking and when to stop chasing problems in EQ.
Should you add a room mic or stay close-mic only?
In a treated room, a room mic adds depth. In an untreated concrete basement, a room mic almost always sounds worse than no room mic at all — it captures the same flutter echo and slap that you are working hard to keep out of the close mic. Skip the room mic. If you want size, add a short reverb at mix from a plate or chamber algorithm. You will get a more usable sound in less time.
The one exception: if you have a second SM57 or a similar dynamic, place it 6–8 feet from the kit at chest height, aimed at the snare, and compress it hard with a slow attack. Used at -15 to -20 dB under the close mic, it adds weight without exposing the room's worst behavior.
Tracking workflow that saves time
If you are tracking yourself, set a 4–8 hit pattern on a metronome and record 30 seconds at each placement option. Listen back through closed-back headphones, A/B the takes, and only then commit to a final position. Five minutes of testing saves an hour of post-production. If you are new to this kind of workflow, our walkthrough on setting up a home recording studio covers monitoring choices that make this kind of decision fast and reliable.
Frequently Asked Questions
Can I use just one SM57 on the whole kit in a concrete basement?
Yes, and it can sound surprisingly good for demo and songwriting work. Place the single SM57 about 24 inches above the snare, angled slightly toward the kick. You will lose hi-hat and cymbal balance control, but you avoid the phase problems that multiple mics create in reflective rooms. For a finished track, add a separate kick mic at minimum.
Will a Shure SM57 work on snare bottom in a basement, or do I need a different mic?
The SM57 works fine on snare bottom. The bigger issue in a concrete room is that the bottom mic captures floor reflections almost as loudly as the wires. High-pass it aggressively at 250–300 Hz, gate it tightly, and blend it under the top mic at about -10 dB. Do not solo the bottom track expecting it to sound good on its own.
Is the SM57 better than a condenser for snare in untreated concrete rooms?
For most home setups, yes. Small-diaphragm condensers capture more detail but also more room reflections, flutter echo, and bleed. The SM57's tighter pattern, lower sensitivity, and rolled-off lows are forgiving in ways that matter more than a few decibels of high-frequency air. Save the condensers for when you treat the room.
How loud is too loud for a Shure SM57 on a hard-hit snare?
The SM57 is rated to handle SPLs well above what any human drummer can produce. You will run out of preamp headroom before the mic distorts. If you are clipping your interface, lower the preamp gain or engage the pad if your interface has one. The SM57 itself is essentially impossible to overload.
Do I need a pop filter or windscreen on the SM57 for snare?
No. Pop filters address plosives from vocal performances. On a snare, the foam ball windscreen built into the SM57's grille is more than enough. Adding an external windscreen would push the capsule farther from the drum, which costs you direct sound and gain-before-feedback in a reflective room.
Will adding a noise gate during tracking limit my mixing options later?
If you set the gate conservatively — threshold below the quietest ghost note, slow release — it removes only obvious bleed and tail, not anything you would want to keep. If you are nervous, record the ungated signal in parallel on a second track. Disk space is cheap.
What budget rug or blanket actually changes the snare sound?
Anything denser than a standard area rug helps measurably. Surplus moving blankets at around five pounds each absorb low-mid energy effectively. Stack two of them under the kit and you will hear the difference in the snare's low-mid ring immediately. Acoustic-rated panels work better but cost ten times as much for marginal gains in this application.
Can the same setup work for recording snare in a garage with a concrete floor?
Yes — in fact, a garage is often easier than a basement because the door and any insulated walls absorb more energy than poured concrete walls. The same placement, treatment, and gating advice applies. Watch for traffic noise bleed if the garage faces a street; the SM57's rear rejection helps but does not eliminate it entirely.
Key Takeaways
- Choosing the right Shure SM57 for snare drum in concrete basement means matching capacity and output ports to your actual devices
- Always check actual watt-hours (Wh), not just watts — runtime depends on Wh, not peak output
- Also covers: SM57 snare drum home recording
- Also covers: Shure SM57 concrete basement drums
- Also covers: snare mic for untreated basement
- Compare price-per-Wh across models to find the best value for your budget